CONTENTS
The SmartOLT connectivity (description)
Prerequisites
1. Public IP address
2. Preparing OLT data
Setting up the devices (OLT and Router)
1. Setting the OLT
2. Setting the Router
Adding the OLT to the SmartOLT Panel
The SmartOLT connectivity
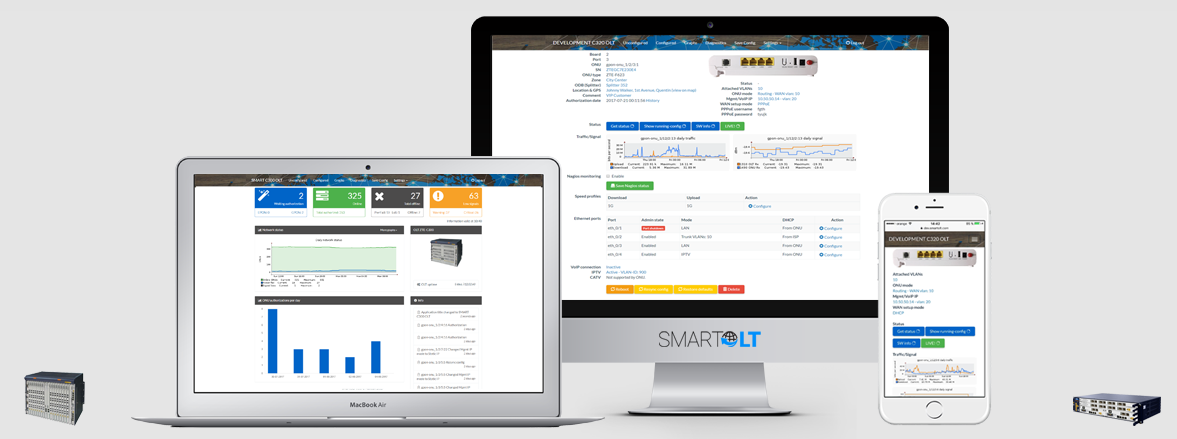
SmartOLT is a cloud software. The software runs on many servers are placed around the world in safe datacenters.
The servers populate the databases and process information coming from your OLT. This includes graphs and signal levels.
SmartOLT also sends configuration data to the OLT(s) based on your choices in the panel.
The servers collect statistical information that turn into graphs (traffic, signal levels etc)
The cloud serers need to connect to your OLT(s) and gather data continuously.
The most common configuration of the OLT(s) includes an IP address selected from the private space, for management.
A public IP address on the OLT for management is possible, but NOT RECOMMENDED.
VERY IMPORTANT to know! It makes no difference if your OLT is in a lab/testing, or in production/network! When you add the OLT for the first time, SmartOLT will ONLY READ the OLT configuration so it can populate the database. NO CHANGES are made to the OLT while adding and importing ONUs.
SmartOLT only triggers changes in the OLT when a change operation is user-triggered. That includes adding, modifying, resyncing or deleting ONUs.
The easiest way to integrate your OLT to the Panel, is to open a Notepad or take a piece of paper, and collect the information described below.
Prerequisites
1. One public IP address is mandatory
SmartOLT needs to connect to the OLT from the Internet. Therefore, a public IP is required. The IP address must be set on the router, not on the OLT. It can be your public address from the ISP, if you are using only one.Write this IP address down, you will need it for the setup.
2. Preparing OLT data
OLT management can be performed IB (In-Band) or OOB (Out-Of-Band).
IB - or In Band management. In this configuration, the management IP address is set on a chosen VLAN interface. This VLAN travels to the router via one of the Uplink ports.
OOB - or Out-Of-Band management. This setup assumes that you have dedicated management cables between the OLT management cards and the Router. This setup is preferred because no Internet (or other data) traffic flows through these connections, allowing management in case of Uplink failures or DDoS attacks.
No matter what method of connection you choose, you need to setup a private IP address on the OLT.
By default, usually OLT(s) have already set up an IP address. Although you can use that, we recommend changing this IP address to something you use in your network.
You need the following information to add the OLT:
1. The router public IP address mentioned above
2. One TCP port for telnet (by default SmartOLT recommends 2333)
3. One UDP port for SNMP (by default SmartOLT uses 2161)
4. An username (example, smartoltusr), and a strong password. We will use these credentials to connect to your OLT.
5. The OLT hardware chassis (Huawei MA5608T, ZTE C320 etc)
6. The OLT firmware version
Setting up devices (OLT and Router)
The OLT must reach the SmartOLT servers and viceversa, before adding it to the Panel. Some configuration must be set on the OLT and the Router for this. Depending on the OLT brand, initial configuration commands are different. The steps are easy, and the logic is described below.
1. Setting up the OLT
1.1. Setup the Private IP address on Management interface (Out-Of-Band), or VLAN (In-Band).
1.2. Setup the default route (gateway).
1.3. Create a privileged user with a strong password.
Depending on your OLT brand, you will find detailed information here:
OLT Huawei (all models)
OLT ZTE (all models)
After following these guides, the OLT is prepared for integration, but connectivity must be complete, so next is the router.
2. Setting up the ROUTER
2.1. Determine the public IP address that will be used for NAT.
2.2. Setup a secure Address-List (or access list), with the SmartOLT IP addresses (see on router configuration instructions below).
2.3. Setup source NAT (masquerading) for the OLT IP.
2.4. Setup destination NAT for the TCP and UDP ports determined in the steps above.
Depending on your router brand, configuration is done differently:
For Mikrotik configuration guide, please choose your region:
Varianta 1:
Varianta 2
(Americas)
(Asia)
(Australia/Oceania)
(Europe, Africa, Middle East)
Varianta 3
Americas -- Mikrotik -- Cisco -- Other
Asia -- Mikrotik --
Australia/Oceania -- Mikrotik --
Europe, Africa, Middle East -- Mikrotik --
Adding the OLT to the SmartOLT panel
If all the steps above are complete, the OLT should be able to communicate with SmartOLT servers.
It's now time to add the OLT to your Panel.
Open your SmartOLT subdomain in a web browser (Chrome is preferred, but others work too), and authenticate using the credentials from the Welcome Mail.
Go to Settings --> OLTs --> +Add an OLT.
Follow the instructions in the image below, based on all your information collected above during configuration.
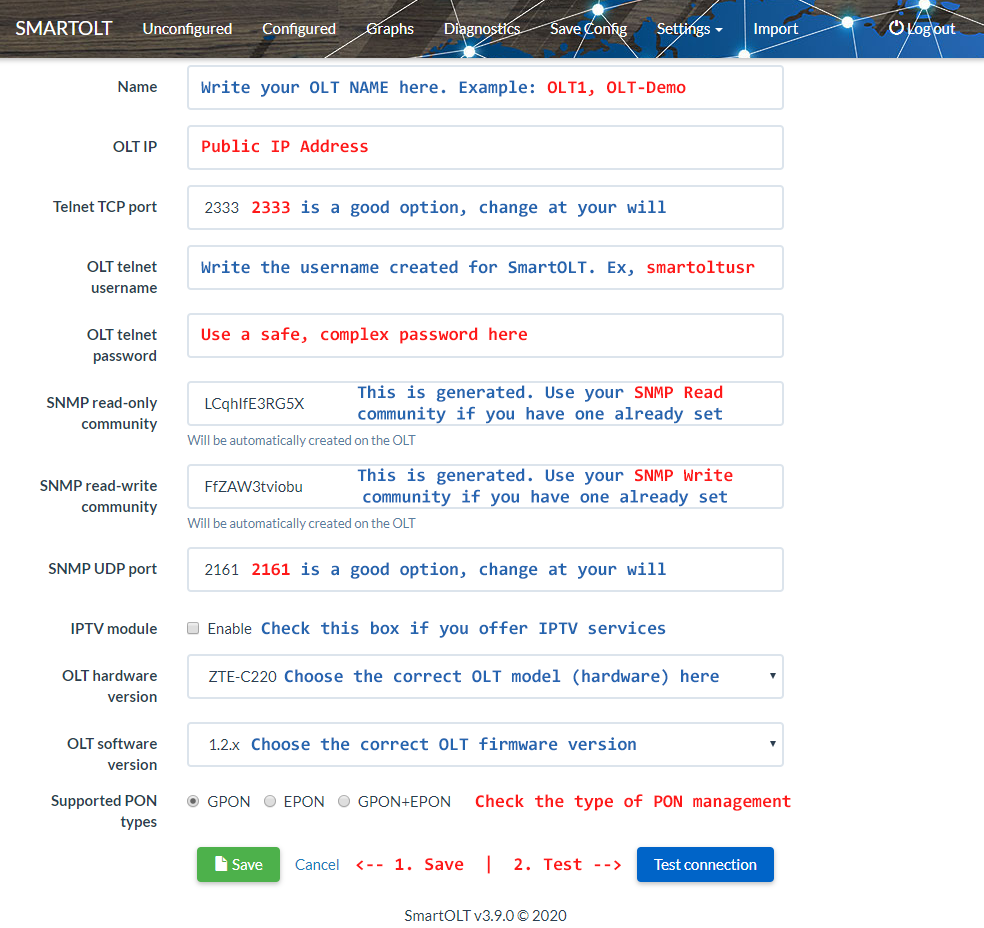
Once the OLT is added, you can edit its settings and press "Test Connection" button, to make sure OLT connectivity is complete. If everything went OK, you will see the following message:
